Install ONLYOFFICE Docs on Ubuntu 20.04
Updated on
•6 min read
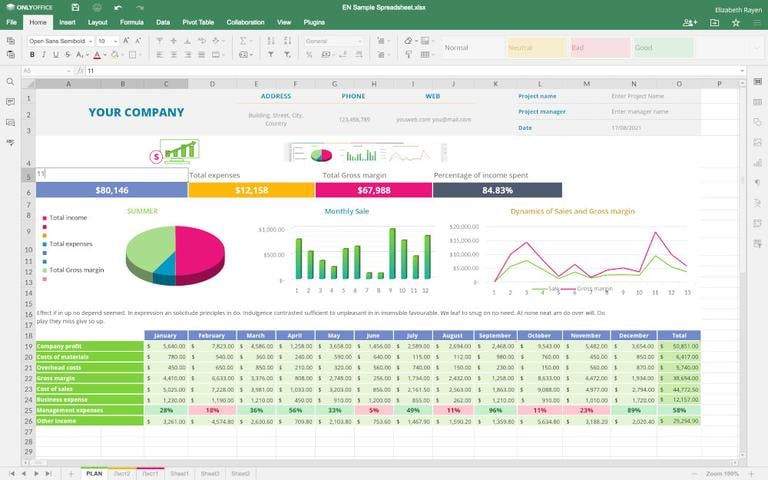
ONLYOFFICE Docs is an open-source office suite distributed under the AGPLv3 license. It allows working with office documents, spreadsheets,and presentations, as well as with fillable forms, which you can save as PDF files. The suite uses DOCX, XLSX, and PPTX as core formats which guarantees high compatibility with MS Office files.
One of the strong points of ONLYOFFICE Docs is collaborative work on documents. The suite is equipped with real-time and paragraph-locking co-editing modes, review and track changes, comments, and built-in chat. There is also a possibility to add the Jitsi plugin for making audio and video calls inside the editors.
ONLYOFFICE Docs can be integrated with various cloud services such as WordPress, Nextcloud, Strapi, Redmine, Jira, Moodle, etc., and embedded into your solution.
This article explains how to install ONLYOFFICE Docs on Ubuntu 20.04.
Hardware Requirements
According to the official documentation, to install ONLYOFFICE Docs, you’ll need at least:
- Dual-core 2 GHz CPU
- 2 GB of RAM
- 40 GB of storage
- 4 GB of swap
Installing ONLYOFFICE
The easiest way to install the suite is to use Docker. The developers officially recommend this method. If you do not have Docker installed, you can refer to the Docker installation instructions .
Once you have the latest version of Docker, you can install ONLYOFFICE Docs with all the dependencies using a single command:
sudo docker run -i -t -d -p 80:80 --restart=always onlyoffice/documentserverIf you want to change the port, use the -p option. Here is an example for switching to port 8080:
sudo docker run -i -t -d -p 8080:80 --restart=always onlyoffice/documentserverOnce ready, enter http://localhost in your browser address bar to launch the welcome page. There, an integration example is provided by default together with the editors. Its a simple DMS used to test the editors and see how the integration can be implemented.
Storing Data Outside Containers
All the data is stored in the specially-designated directories called data volumes:
- logs
/var/log/onlyoffice - certificates
/var/www/onlyoffice/Data - file cache
/var/lib/onlyoffice - database
/var/lib/postgresql
Its a good idea to mount those you need to your hosting machine. Use the -v option in the docker run command:
sudo docker run -i -t -d -p 80:80 --restart=always \-v /app/onlyoffice/DocumentServer/logs:/var/log/onlyoffice \-v /app/onlyoffice/DocumentServer/data:/var/www/onlyoffice/Data \-v /app/onlyoffice/DocumentServer/lib:/var/lib/onlyoffice \-v /app/onlyoffice/DocumentServer/db:/var/lib/postgresql onlyoffice/documentserver
If you delete the container or something goes wrong during the update, you wont lose your data. You will also be able to update your certificates without messing with the container.
Switching to HTTPS
The easiest way to switch ONLYOFFICE Docs to HTTPS is to automatically get Let’s Encrypt SSL Certificates using certbot.
Install certbot:
sudo snap install --classic certbotsudo ln -s /snap/bin/certbot /usr/bin/certbot
Run the ONLYOFFICE Docs Docker container. Specify ports 80 and 443 and set your domain name and email:
sudo docker run -i -t -d -p 80:80 -p 443:443 \-e LETS_ENCRYPT_DOMAIN=yourdomain.com -e [email protected] onlyoffice/documentserver
Once done, ONLYOFFICE Docs will be available under https://yourdomain.com.
Integrating with Cloud Platforms
When you have ONLYOFFICE Docs installed, you can integrate the editors with your preferred DMS/sync&share system. To do so, you will need a connector, an integration app that serves as a bridge between the editors and the DMS system.
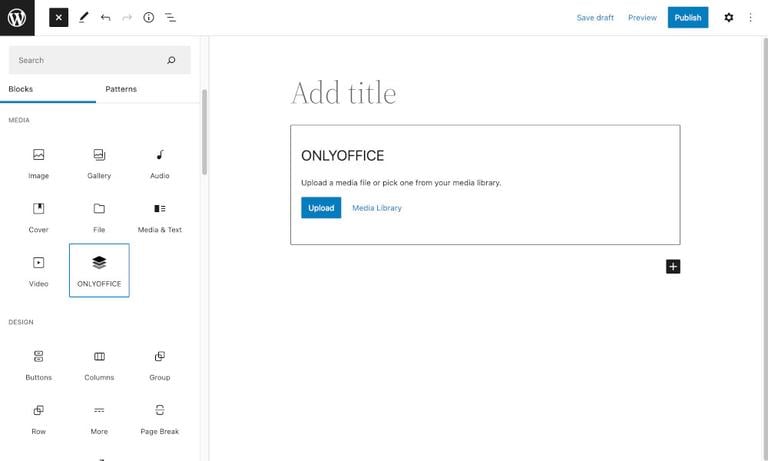
The developers are providing ready-to-use integration apps on the official website . One of the recently added integrations is the WordPress integration. It allows admins to edit and collaborate on office documents within the WordPress administrative dashboard:
It is also possible to add ONLYOFFICE blocks to the post to insert documents in the embedded mode:
Conclusion
We have shown you how to install ONLYOFFICE Docs on your Ubuntu 20.04 machine. You can now edit and co-author your office documents within the cloud platform you already use with no need to switch between various applications.
With the latest update of the editors (version 7.1), the developers also added the ability to install the suite on Ubuntu 18.04 and Ubuntu 20.04 for the 64-bit ARM architecture. You can check the official guidelines .
If you have any questions, please leave comments below.