Install and Configure Roundcube Webmail
Updated on
•6 min read

This is the last part of the Setting up and configuring a mail server series, in which we will cover how to install and configure Roundcube Webmail.
Roundcube is a web-based IMAP email client with a very intuitive and modern user interface written in PHP. To use Roundcube you only need a Web browser .
RoundCube includes all the features which you need in an email client such as richtext/HTML message composing, address book, support for MIME/HTML emails, multiple sender identities, spell checking, three column View, drag & drop message management and more.
Prerequisites
Before continuing with this tutorial, make sure you are logged in as a user with sudo privileges .
PHP dependencies
We’ll start off by updating the package list and installing all required PHP dependencies:
sudo apt updatesudo apt install php-auth php-intl php-mail-mime php-mail-mimedecode php-mcrypt php-net-smtp php-net-socket php-pear php-xml php7.0-intl php7.0-mcrypt php7.0-xml php7.0-gd php7.0-gd php-imagick
Once the installation is completed run the following sed
command to set the date.timezone value to UTC:
sudo sed -i "s/;date.timezone.*/date.timezone = UTC/" /etc/php/7.0/fpm/php.iniRestart the PHP FPM service for changes to take effect:
sudo systemctl php7.0-fpm restartCreate MySQL Database
Roundcube supports MySQL , PostgreSQL and SQLite database backends.
In this tutorial we will use MySQL as our database server. Login to the MySQL shell :
mysql -u root -pCreate a new MySQL database , a user and grant privileges to that user over the newly created database:
CREATE DATABASE roundcubemail;GRANT ALL ON roundcubemail.* TO 'roundcubemail'@'localhost' IDENTIFIED BY 'P4ssvv0rD';FLUSH PRIVILEGES;
Download Roundcube
At the time of the writing, 1.3.8 is the latest stable version of Roundcube. Before continuing with the next step you should check the Roundcube download page to see if a newer version is available.
Start by downloading the Roundcube archive using the following wget command :
https://github.com/roundcube/roundcubemail/releases/download/1.3.8/roundcubemail-1.3.8.tar.gzOnce the download is completed, extract the archive
and move
the Roundcube code to the /var/www/roundcubemail directory:
tar xzf roundcubemail-1.3.8.tar.gz.tar.gzsudo mv roundcubemail-1.3.8/ /var/www/roundcubemail
Nginx
and PHP-FPM are running under the www-data user, so we need to change the ownership of the /var/www/postfixadmin directory to that user:
sudo chown -R www-data: /var/www/roundcubemailConfigure Nginx
In the first part of this series, we created an Nginx server block for the PostfixAdmin instance. Open the configuration file and add the following location directives, the ones highlighted in yellow:
...
location /roundcubemail {
   index index.php;
   try_files $uri $uri/ /roundcubemail/index.php;
}
location ~ ^/roundcubemail/(README|INSTALL|LICENSE|CHANGELOG|UPGRADING)$ {
   deny all;
}
location ~ ^/roundcubemail/(bin|SQL|config|temp|logs)/ {
   deny all;
}
...
Reload the Nginx service for changes to take effect:
sudo systemctl reload nginxConfigure Roundcube
Open your browser and navigate to https://mail.linuxize.com/roundcubemail/installer.
You will be presented with the following screen:
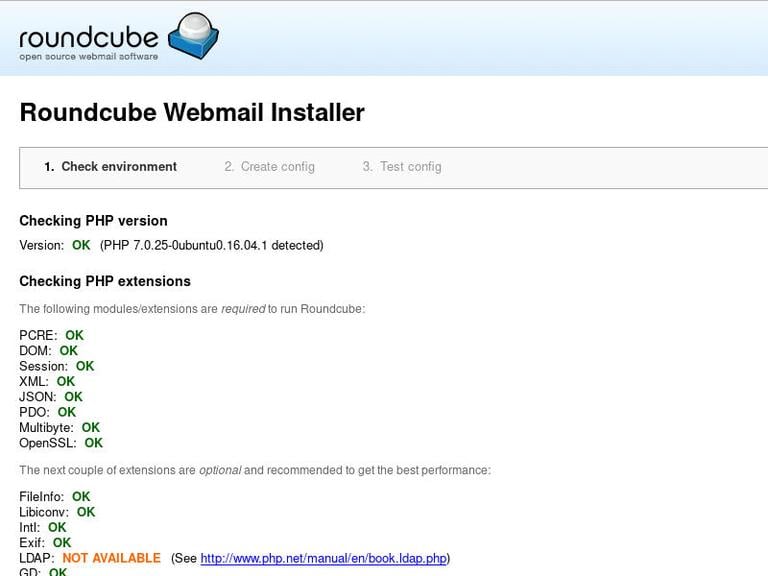
Checking available databases section only the MySQL extension is required.If all required PHP extensions are loaded we can proceed to the next step, where we can configure our Roundcube installation:

The most important part here is to enter the correct MySQL database settings.
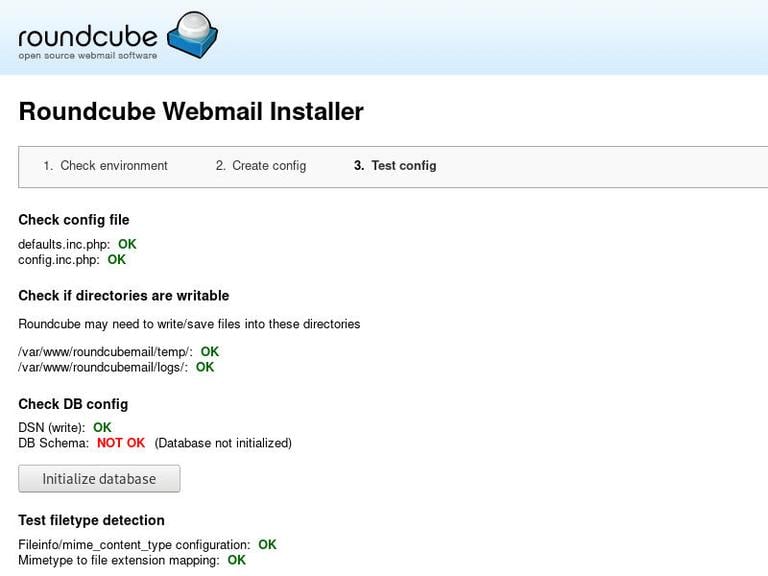
When you are done with the configuration step, proceed to the next step and import the Roundcube’s MySQL database structure by clicking on the Initialize database button.
Once the database structure is created, delete
the installer directory to prevent reconfiguration and/or unauthorized access.
sudo rm -rf /var/www/roundcubemail/installerEnabling Roundcube’s automatic cache-cleaning is optional but recommended:
sudo crontab -u www-data -l | { cat; echo "18 11 * * * /var/www/roundcubemail/bin/cleandb.sh"; } | sudo crontab -u www-data -Verify your Roundcube Installation
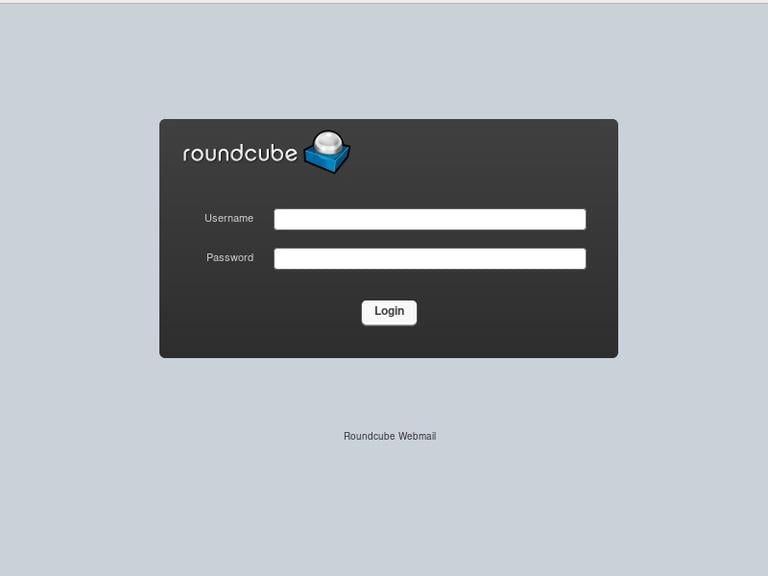
Open your web browser, navigate to: https://mail.linuxize.com/roundcubemail and log in using your email account’s username and password.
Enable Roundcube Plugins
Roundcube comes with a number of plugins which are disabled by default. In this guide we will enable password and managesieve plugins. This plugins will allow users to create sieve filters and change their passwords from within the Roundcube interface.
// Enable plugins
$config['plugins'] = array('managesieve','password');
// Configure managesieve plugin
$rcmail_config['managesieve_port'] = 4190;
// Configure password plugin
$config['password_driver'] = 'sql';
$config['password_db_dsn'] = 'mysql://postfixadmin:P4ssvv0rD@localhost/postfixadmin';
$config['password_query'] = 'UPDATE mailbox SET password=%c WHERE username=%u';
password_db_dsn line.Conclusion
This tutorial showed you how to install and configure Roundcube Webmail on your Ubuntu system, as well as how to install and enable Roundcube plugins in order to add additional functionalities such as sieve filters.
This is the last post of this series. If you have any questions, feel free to leave a comment.
This post is a part of the Setting up and configuring a mail server series.
Other posts in this series: