How to Install Webmin on CentOS 8
Updated on
•6 min read
Webmin is an open-source control panel that allows you to manage your Linux server through an easy-to-use web interface. It allows you to manage users, groups, disk quotas, create files and directories as well as configure most popular services including web, FTP, email and database servers.
This tutorial explains how to install Webmin on CentOS 8.
Prerequisites
To be able to install packages, you need to be logged in as root or user with sudo privileges .
Installing Webmin on CentOS
The recommended method for installing Webmin on CentOS 8 is to enable the Webmin repository and install the Webmin package using the dnf package manager.
Perform the following steps to install Webmin on CentOS:
Open your favorite text editor and create the repository file:
sudo nano /etc/yum.repos.d/webmin.repoPaste the following content into the file:
/etc/yum.repos.d/webmin.repo[Webmin] name=Webmin Distribution Neutral #baseurl=https://download.webmin.com/download/yum mirrorlist=https://download.webmin.com/download/yum/mirrorlist enabled=1Save the file and close the editor.
Import the Webmin GPG key using the following
rpmcommand:sudo rpm --import http://www.webmin.com/jcameron-key.ascInstall the latest version of Webmin by typing:
sudo dnf install webminThe command automatically resolves all dependencies. Once the installation finishes, the following output is displayed:
Webmin install complete. You can now login to https://your_server_ip_or_hostname:10000/
as root with your root password.
The Webmin service will start automatically.
That’s it! At this point, you have successfully installed Webmin on your CentOS 8 server.
Adjust the Firewall
By default, Webmin listens for connections on port 10000 on all network interfaces.
To be able to access the Webmin interface from a web browser, you need to open the Webmin port in your server’s firewall .
Run the following commands to allow traffic on port 10000:
sudo firewall-cmd --zone=public --add-port=10000/tcpsudo firewall-cmd --runtime-to-permanent
Accessing Webmin Web Interface
Now that Webmin is installed on your CentOS server open your [favorite browser and type your server’s hostname name or public IP address followed by the Webmin port 10000:
https://your_server_ip_or_hostname:10000/
The browser will complain about the certificate being not valid, because by default, Webmin uses an untrusted self-signed SSL certificate .
Login to the Webmin web interface using your root user credentials:
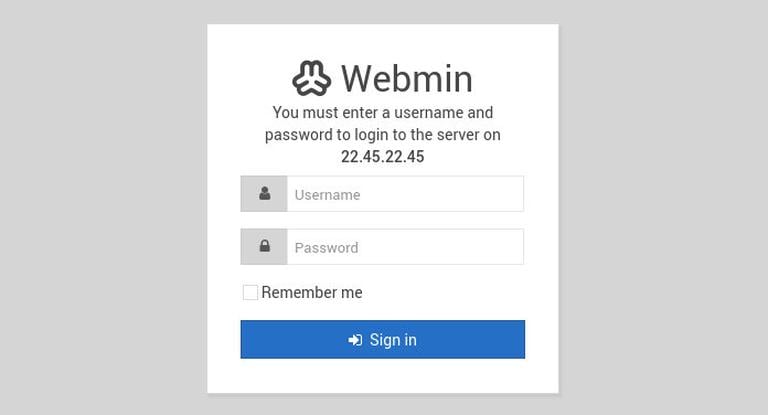
Once you log in, you will be redirected to the Webmin dashboard, which provides basic information about your system.
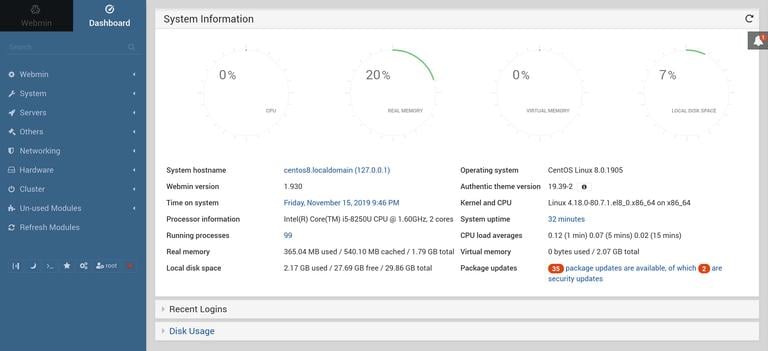
From here, you can start configuring and managing your CentOS 8 server as per your requirement.
Conclusion
You have successfully installed Webmin on your CentOS 8 machine. You can now start managing the services through the Webmin web interface.
To learn more about Webmin, visit their official documentation page.
If you have any questions, please leave a comment below.