How to Install TeamViewer on Ubuntu 18.04
Updated on
•6 min read

TeamViewer is a cross-platform solution that can be used for remote control, desktop sharing and file transfer between computers.
TeamViewer is proprietary computer software and it is not included in the Ubuntu repositories. This tutorial explains how to install TeamViewer on Ubuntu 18.04. The same instructions apply for Ubuntu 16.04 and any other Debian based distribution, including Debian, Linux Mint and Elementary OS.
Prerequisites
Before continuing with this tutorial, make sure you are logged in as a user with sudo privileges .
Installing TeamViewer on Ubuntu
At the time of writing this article, the latest stable version of TeamViewer is version 14.0.12762.
Perform the following steps to install TeamViewer on your Ubuntu system:
1. Download TeamViewer
Open your terminal either by using the Ctrl+Alt+T keyboard shortcut or by clicking on the terminal icon.
Download the latest TeamViewer .deb package with the following wget
command:
wget https://download.teamviewer.com/download/linux/teamviewer_amd64.deb2. Install TeamViewer
Install the TeamViewer .deb package by issuing the following command as a user with sudo privileges:
sudo apt install ./teamviewer_amd64.debAt the prompt Do you want to continue? [Y/n], type Y to continue the installation.
Starting TeamViewer
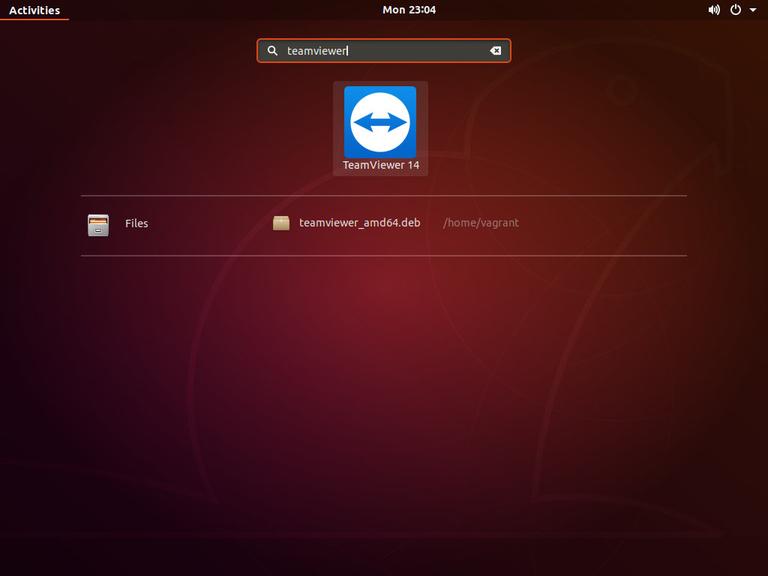
Now that TeamViewer is installed on your Ubuntu system you can launch it either from the command line by typing teamviewer or by clicking on the TeamViewer icon (Activities -> TeamViewer):
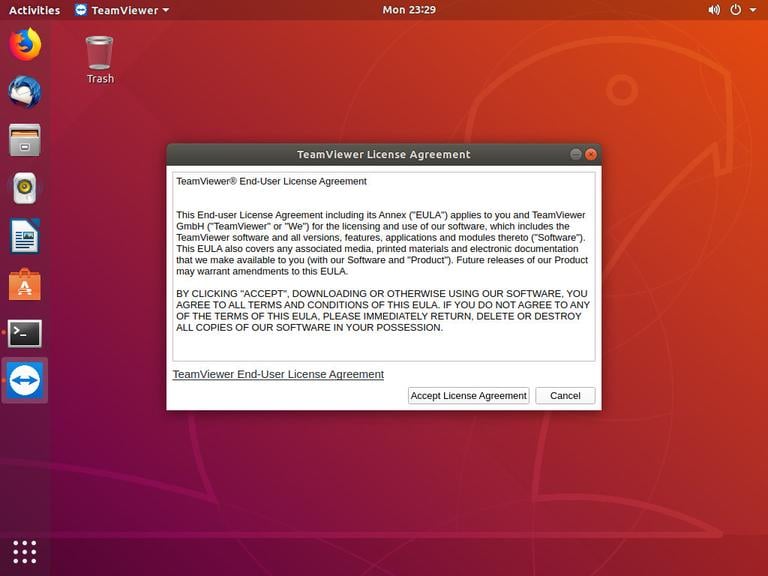
When you start TeamViewer for the first time, a window similar to the following will be displayed. Accept the terms in the license agreement by clicking on the License Agreement button.
TeamViewer will open and you’ll see something like the following.
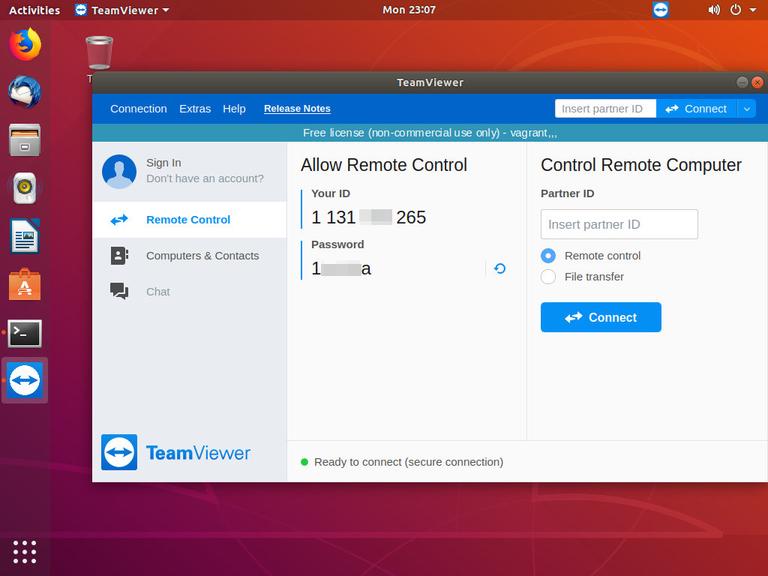
Congratulations, at this point you have TeamViewer installed on your Ubuntu desktop. You can now connect to your friend or customer machine and provide immediate assistance.
Updating TeamViewer
During the installation process the official TeamViewer repository will be added to your system. You can use the cat command to verify the file contents:
cat /etc/apt/sources.list.d/teamviewer.list...
deb http://linux.teamviewer.com/deb stable main
# deb http://linux.teamviewer.com/deb preview main
...
This ensures that your TeamViewer installation will be updated automatically when a new version is released through your desktop standard Software Update tool.
Conclusion
In this tutorial we’ve shown you how to install TeamViewer on your Ubuntu 18.04 desktop machine.
Feel free to leave a comment below.