How to Install Sublime Text 3 on CentOS 7
Updated on
•6 min read

Sublime Text is a proprietary cross-platform versatile text and source code editor for web and software development. It is very fast and it comes with lots of powerful features out of the box. You can enhance its functionality by installing new plugins and creating custom settings.
This tutorial outlines the steps to install Sublime Text 3 on CentOS 7 Linux systems.
Prerequisites
The user you are logged in as must have administrator-level privileges to be able to install packages.
Installing Sublime Text on CentOS
Follow the steps below to install Sublime Text 3 on your CentOS 7 system:
Start by importing the official Sublime Text repository’s GPG key:
sudo rpm -v --import https://download.sublimetext.com/sublimehq-rpm-pub.gpgAdd the Yum repository to your system using the following command:
sudo yum-config-manager --add-repo https://download.sublimetext.com/rpm/stable/x86_64/sublime-text.repoadding repo from: https://download.sublimetext.com/rpm/stable/x86_64/sublime-text.repo grabbing file https://download.sublimetext.com/rpm/stable/x86_64/sublime-text.repo to /etc/yum.repos.d/sublime-text.repo repo saved to /etc/yum.repos.d/sublime-text.repoOnce the repository is enabled, install Sublime Text 3 by typing:
sudo yum install sublime-text
That’s it. Sublime Text has been installed on your CentOS desktop.
Starting Sublime Text
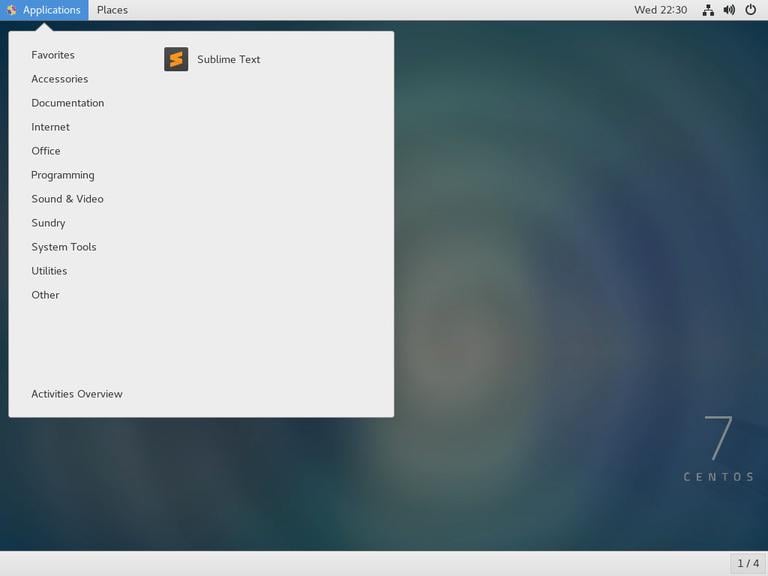
You can launch the Sublime Text editor either from the terminal by typing subl or by clicking on the Sublime icon (Applications -> Programming -> Sublime):
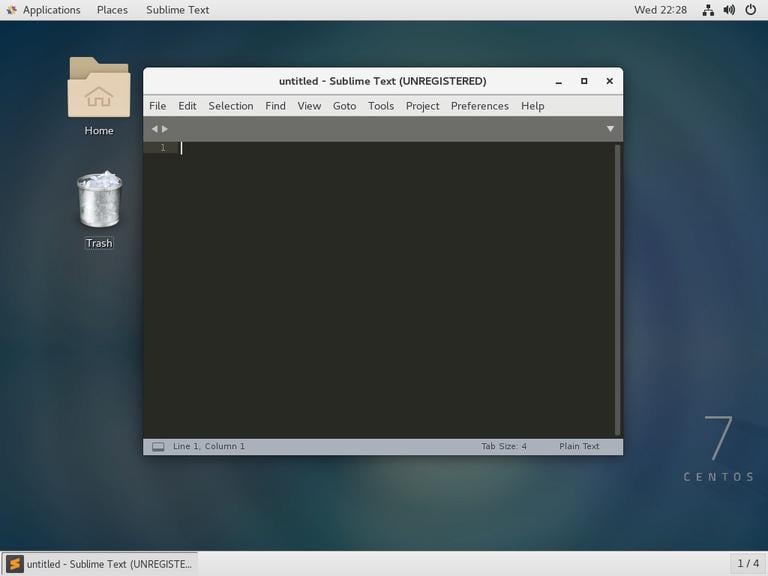
When you start Sublime Text for the first time, a window like the following one will appear:
Conclusion
You have successfully installed Sublime Text on your CentOS 7 machine. Your next step could be to install the Sublime Text Package Control and start customizing your new editor according to your needs.
To find more information about Sublime Text visit the official Sublime Text documentation page.
If you have any questions, please leave a comment below.