How to Install Spotify on Ubuntu 18.04
Updated on
•6 min read

Spotify is a digital music streaming service that gives you instant access to millions of songs, from old classics to the latest hits.
In this tutorial we’ll show you how to install Spotify on an Ubuntu 18.04 desktop. The same steps apply for Ubuntu 16.04 and any Ubuntu based distribution, including Kubuntu, Linux Mint and Elementary OS.
Prerequisites
You’ll need to be logged in as a user with sudo access to be able to install packages on your Ubuntu system.
Installing Spotify on Ubuntu
Installing Spotify on Ubuntu Linux is a relatively straightforward process and will only take a few minutes.
Start by importing the repository’s GPG key using the following command:
sudo apt-key adv --keyserver hkp://keyserver.ubuntu.com:80 --recv-keys 4773BD5E130D1D45The output should look something like this:
OKAdd the Spotify APT repository to your system’s software repository list:
echo deb http://repository.spotify.com stable non-free | sudo tee /etc/apt/sources.list.d/spotify.listOnce the repository is enabled, update apt sources and install Spotify:
sudo apt updatesudo apt install spotify-client
That’s it. Spotify has been installed on your Ubuntu desktop.
Starting Spotify
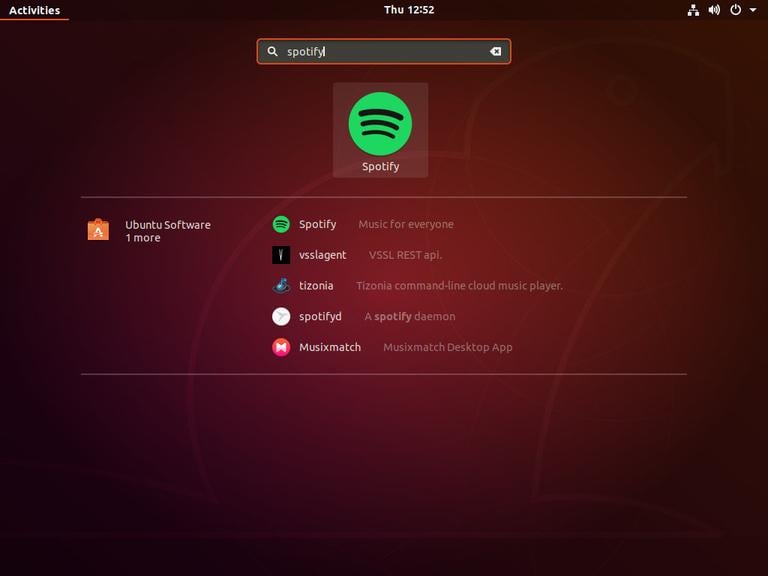
You can start the Spotify client either from the terminal by typing spotify or by clicking on the Spotify icon (Activities -> Spotify):
When you start the Spotify application for the first time, a window like the following one will appear:
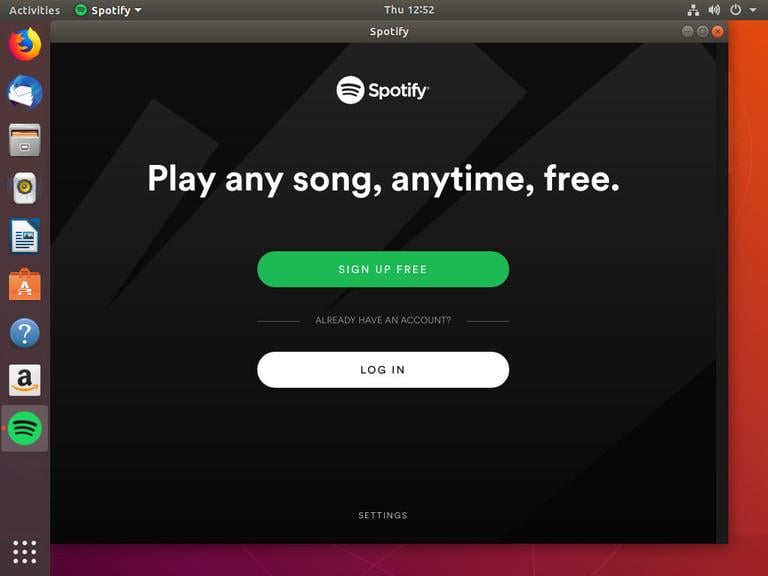
From here, you login with your Spotify account or create a new one.
Upgrading Spotify
To upgrade your Spotify client when new releases are published, you can use the apt
package manager normal upgrade procedure:
sudo apt updatesudo apt upgrade
Conclusion
You have successfully installed Spotify on your Ubuntu 18.04 desktop. If Spotify is not available in the country you’re in, you can use VPN to get around these geo-restrictions.
If you have any questions, please leave a comment below.