How to Install phpMyAdmin with Nginx on Ubuntu 18.04
Updated on
•6 min read
phpMyAdmin is an open-source PHP based tool for managing MySQL and MariaDB servers over a web-based interface.
phpMyAdmin allows you to interact with MySQL databases, manage user accounts and privileges, execute SQL-statements, import and export data in a variety of data formats and much more.
This tutorial describes how to install phpMyAdmin with Nginx on Ubuntu 18.04.
Prerequisites
Ensure that you have met the following prerequisites before continuing with this tutorial:
- LEMP (Linux, Nginx, MySQL, and PHP 7) installed on your Ubuntu server .
- Logged in as a user with sudo privileges .
Although not necessary, it is highly recommended to access your phpMyAdmin instance over HTTPS. If you don’t have SSL enabled on your sites, check our article about how to secure your Nginx with Let’s Encrypt on Ubuntu 18.04 .
Installing phpMyAdmin on Ubuntu
Installing phpMyAdmin is a fairly simple task. Start by updating the packages list:
sudo apt updateNext, run the following command to install the phpMyAdmin package from the default Ubuntu repositories:
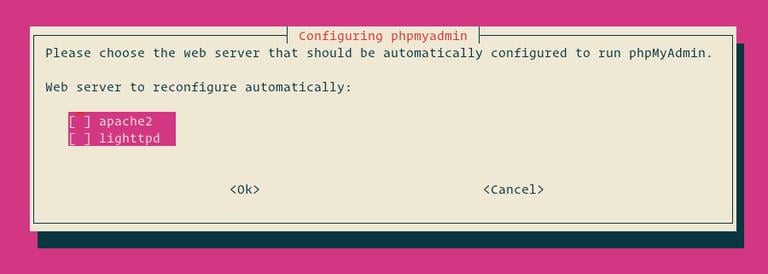
sudo apt install phpmyadminThe installer will ask you choose the web server that should be automatically configured to run phpMyAdmin. There is no option to choose Nginx, press TAB to select OK and then Enter. We’ll configure Nginx in the next section.
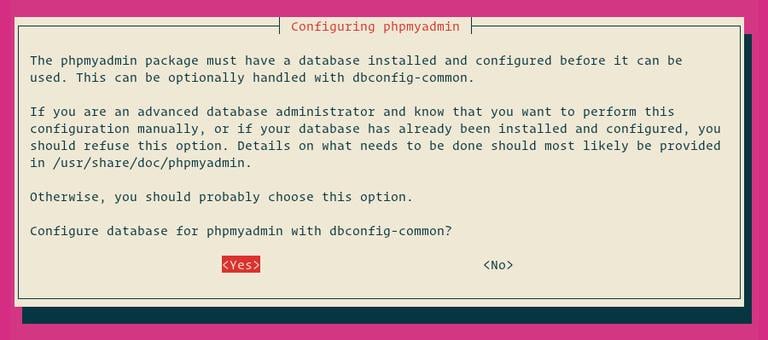
Next, the installer will ask you whether you want to use dbconfig-common tool to set up the database. Select Yes and hit Enter.
Enter a password for phpMyAdmin to register with the database, select OK and press Enter.

You will be prompted to confirm the password, enter the same password, select OK and press Enter.

At this point phpMyAdmin has been installed on your Ubuntu server.
Create an Administrative MySQL User
In Ubuntu systems running MySQL 5.7 (and later), the root user is set to use the auth_socket authentication method by default.
The auth_socket plugin authenticates users that connect from the localhost through the Unix socket file. This means that you can’t authenticate as a root by providing a password.
Instead of changing the authentication method for the MySQL user root, we will create a new administrative MySQL user. This user will have the same privileges as the root user and will be set to use the mysql_native_password authentication method.
We will use this user to login to the phpMyAdmin dashboard and preform administrative tasks on our MySQL server.
Start by log in to the MySQL server as the root user:
sudo mysqlFrom within the MySQL shell execute the following commands which will create a new administrative user and grant appropriate permissions:
CREATE USER 'padmin'@'localhost' IDENTIFIED BY 'change-with-your-secure-password';GRANT ALL PRIVILEGES ON *.* TO 'padmin'@'localhost' WITH GRANT OPTION;
In this example we named the administrative user padmin. You can use any name you like, just be sure to set a strong password.
Configuring Nginx and phpMyAdmin
There are several ways how to configure the Nginx to serve phpMyAdmin files. If your domain’s server block is already set up to serve the PHP requests then you can simply create a symbolic link from the phpMyAdmin installation files to your domain document root directory.
In this guide we will create a snippet which we can include in any of our Nginx server block files.
Open your text editor and create the following file:
sudo nano /etc/nginx/snippets/phpmyadmin.confPaste the following content:
location /phpmyadmin {
    root /usr/share/;
    index index.php index.html index.htm;
    location ~ ^/phpmyadmin/(.+\.php)$ {
        try_files $uri =404;
        root /usr/share/;
        fastcgi_pass unix:/run/php/php7.2-fpm.sock;
        fastcgi_index index.php;
        fastcgi_param SCRIPT_FILENAME $document_root$fastcgi_script_name;
        include /etc/nginx/fastcgi_params;
    }

    location ~* ^/phpmyadmin/(.+\.(jpg|jpeg|gif|css|png|js|ico|html|xml|txt))$ {
        root /usr/share/;
    }
}
fastcgi_pass directive.Save the file and close your editor.
You can now add the following line to each domain’s server block
where you want to access phpMyAdmin using: domain.com/phpmyadmin
include snippets/phpmyadmin.conf;
Here is an example:
server {

    # . . . other code

    include snippets/phpmyadmin.conf;

    # . . . other code

}
Accessing phpMyAdmin
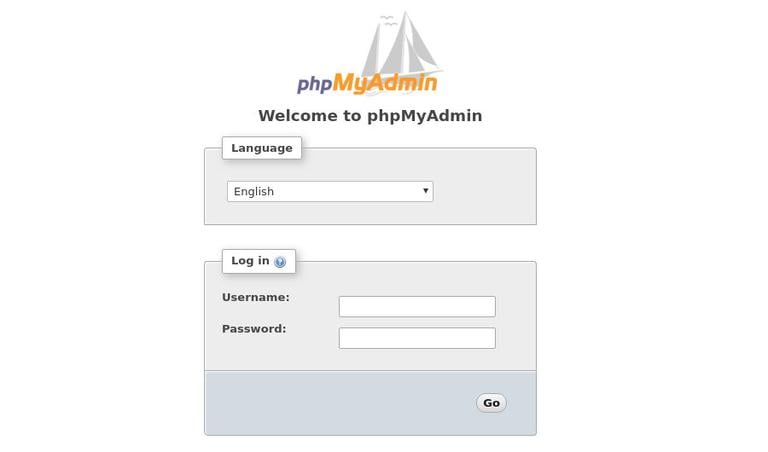
To access the phpMyAdmin interface open your favorite browser and type your server’s domain name or public IP address followed by /phpmyadmin:
http(s)://your_domain_or_ip_address/phpmyadmin
Enter the administrative user login credentials and click Go.
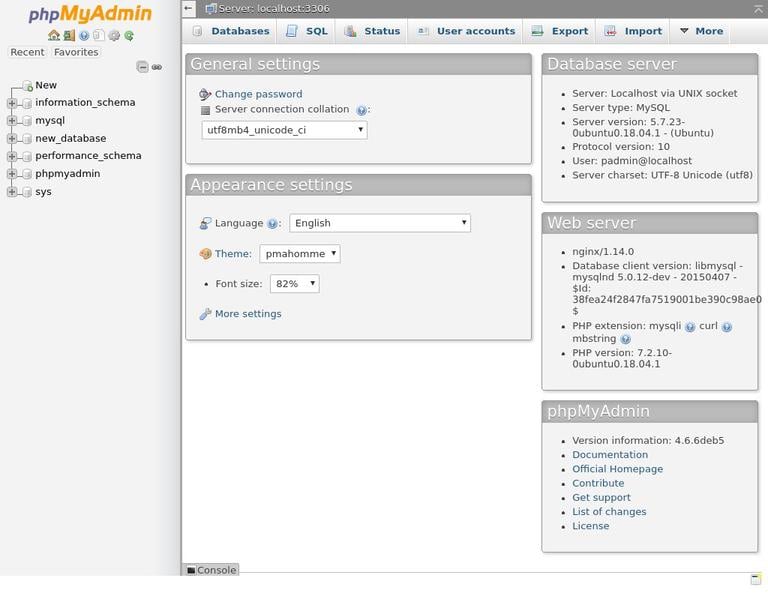
Once you log in, you’ll see the phpMyAdmin dashboard, which will look something like this:
Conclusion
Congratulations, you have successfully installed phpMyAdmin on your Ubuntu 18.04 server. You can now start creating MySQL databases, users and tables and perform various MySQL queries and operations.
If you have questions, feel free to leave a comment below.