How to Install phpMyAdmin with Nginx on CentOS 7
Updated on
•6 min read
phpMyAdmin is an open-source PHP based tool for managing MySQL and MariaDB servers over a web-based interface.
phpMyAdmin allows you to interact with MySQL databases, manage user accounts and privileges, execute SQL-statements, import and export data in a variety of data formats and much more.
In this tutorial, we will show you how to install phpMyAdmin with Nginx on CentOS 7.
Prerequisites
Ensure that you have met the following prerequisites before continuing with this tutorial:
- LEMP (Linux, Nginx, MySQL, and PHP 7) installed on your CentOS server .
- Logged in as a user with sudo privileges .
Although not necessary, it is advised to access your phpMyAdmin installation over HTTPS. If you don’t have SSL on your sites, follow the instructions about securing your Nginx with Let’s Encrypt on CentOS 7 .
Installing phpMyAdmin on CentOS
Use the following steps to install phpMyAdmin on a CentOS 7 system:
phpMyAdmin is included in the EPEL repository . If you do not already have EPEL enabled you can do so by typing:
sudo yum install epel-releaseOnce the EPEL repository is enabled, install phpMyAdmin and all of it’s dependencies with the following command:
sudo yum install phpmyadminMake sure you have Nginx and PHP 7 installed on your system before installing phpMyAdmin.
Change the group ownership of the
/etc/phpMyAdmindirectory tonginx(the user under which the PHP FPM service is running):sudo chgrp -R nginx /etc/phpMyAdmin
Configuring Nginx and phpMyAdmin
There are several ways how to configure the Nginx to serve phpMyAdmin files. If your domain’s server block is already set up to serve the PHP requests then you can simply create a symbolic link from the phpMyAdmin installation files to your domain document root directory.
In this guide we will create a snippet which we can include in any of our Nginx server block files.
Start by creating the snippets directory:
sudo mkdir -p /etc/nginx/snippetsOpen your text editor and create the following file:
sudo nano /etc/nginx/snippets/phpMyAdmin.confPaste the following content:
location /phpMyAdmin {
       root /usr/share/;
       index index.php index.html index.htm;
       location ~ ^/phpMyAdmin/(.+\.php)$ {
               try_files $uri =404;
               root /usr/share/;
               fastcgi_pass unix:/run/php-fpm/www.sock;
               fastcgi_index index.php;
               fastcgi_param SCRIPT_FILENAME $document_root$fastcgi_script_name;
               include /etc/nginx/fastcgi_params;
       }
       location ~* ^/phpMyAdmin/(.+\.(jpg|jpeg|gif|css|png|js|ico|html|xml|txt))$ {
               root /usr/share/;
       }
}
location /phpmyadmin {
    rewrite ^/* /phpMyAdmin last;
}
fastcgi_pass directive.Save the file and close your editor.
You can now add the following line to each domain’s server block
where you want to access phpMyAdmin using: domain.com/phpmyadmin
include snippets/phpMyAdmin.conf;
Here is an example:
server {

    # . . . other code

    include snippets/phpMyAdmin.conf;

    # . . . other code

}
Accessing phpMyAdmin
To access the phpMyAdmin interface open your favorite browser and type your server’s domain name or public IP address followed by /phpmyadmin:
http(s)://your_domain_or_ip_address/phpmyadmin
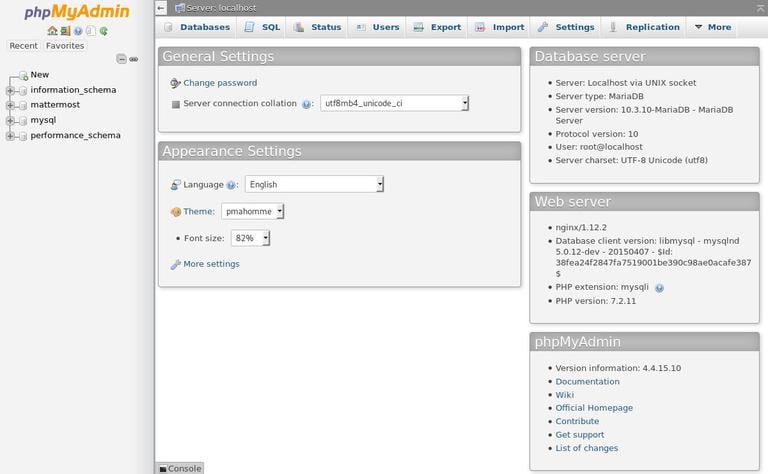
Enter the administrative user login credentials and click Go.
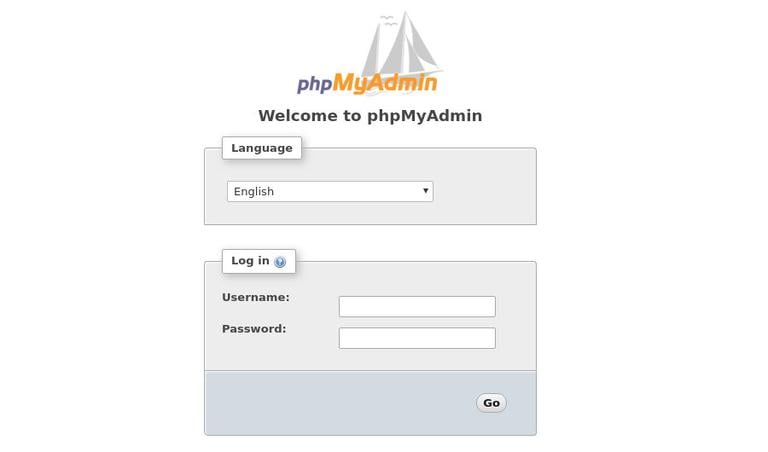
Once you log in, you’ll see the phpMyAdmin dashboard, which will look something like this:
Conclusion
Congratulations, you have successfully installed phpMyAdmin on your CentOS 7 server. You can now start creating MySQL databases, users and tables and perform various MySQL queries and operations.
If you have questions, feel free to leave a comment below.