How to Install Asterisk on Debian 9
Updated on
•6 min read

Asterisk is the most popular and widely adopted open-source framework for building communications applications. It is used by individuals, small businesses, large enterprises and governments worldwide.
Asterisk features include conference calling, voicemail, music on hold, call transfer, call queuing, call recording, database store/retrieve and much more.
In this tutorial we will show you how to install Asterisk 15 on Debian 9.
apt install asterisk.Prerequisites
Before continuing with this tutorial, make sure you are logged in as a user with sudo privileges .
Update your Debian server and install the packages required to download and build Asterisk:
sudo apt update && sudo apt upgradesudo apt install wget build-essential subversion
Downloading Asterisk
At the time of writing this article, the latest stable version of Asterisk is version 15.
Change
to the /usr/src directory and download the Asterisk source code with the following wget command
:
cd /usr/src/sudo wget http://downloads.asterisk.org/pub/telephony/asterisk/asterisk-15-current.tar.gz
After the download is complete, use the tar command to extract the archive:
sudo tar zxf asterisk-15-current.tar.gzMake sure you change to the Asterisk source directory before continuing with the next steps:
cd asterisk-15.*/Installing Asterisk Dependencies
Run the following script to download the MP3 sources which are required to build the MP3 module and use MP3 files:
sudo contrib/scripts/get_mp3_source.shNext, run the install_prereq script to resolve all of the dependencies on your Debian system:
sudo contrib/scripts/install_prereq installThe script will install all necessary packages and upon successful completion, it will print the following message:
#############################################
## install completed successfully
#############################################
Here you will see the default ITU-T telephone code of 61. But in our case if you are in North America as I am you will want to change it to 1
Installing Asterisk
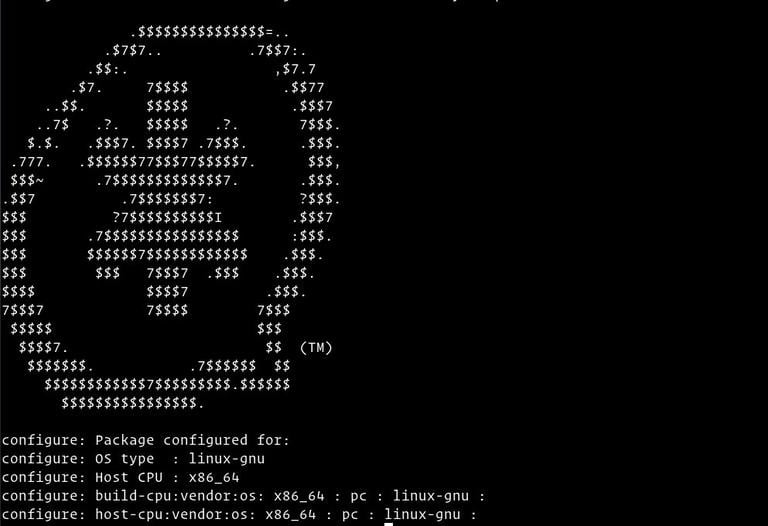
Run the configure script which will get the Asterisk code ready to compile:
sudo ./configureUpon successful completion, you will see the following output:
The next step is to select the modules you want to compile and install. Access the Menuselect system, by typing:
sudo make menuselectWe have already downloaded the MP3 source files and now we need to tell Asterisk to build the MP3 module by selecting format_mp3:
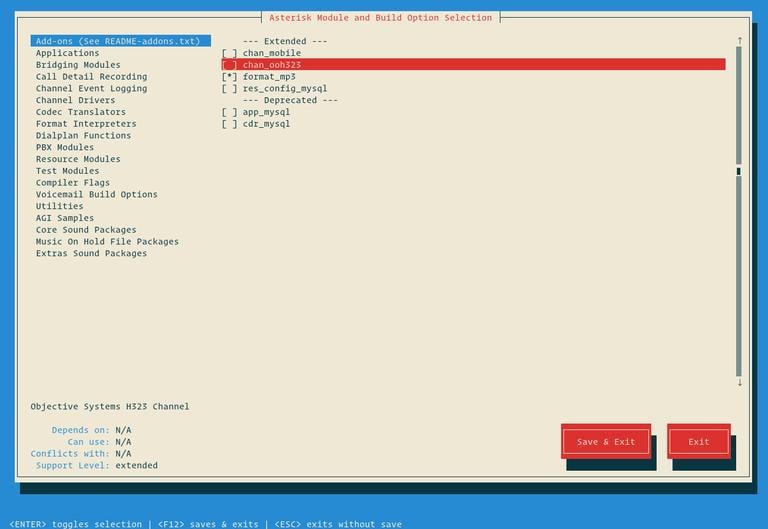
Once you are finished, press F12 to save and exit, or switch to the Save and Exit button and press Enter.
Start the compilation process using the make command:
sudo make -j2-j flag according to the number of cores in your processor.Once the build process is completed, you will be presented with the following message:

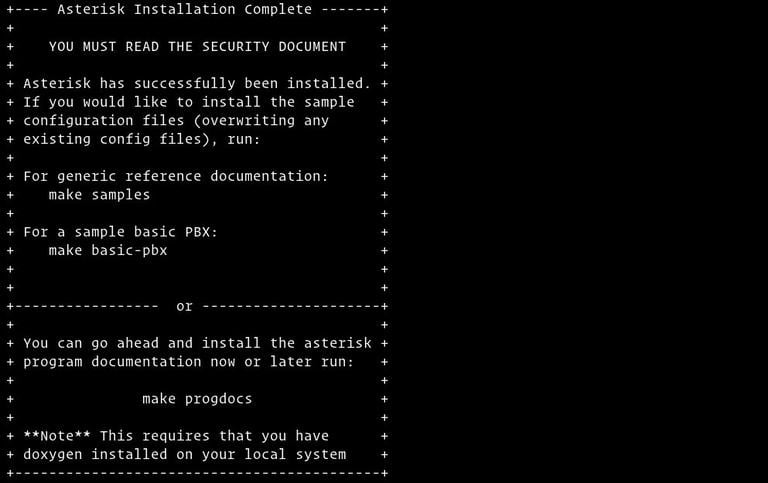
Install Asterisk and its modules by typing:
sudo make installWhen the installation is completed you will be presented with the following message:
Now that Asterisk is installed, the next step is to install the sample configuration files.
You can install either the generic configuration files with sample documentation by running:
sudo make samplesOr install the basic PBX configuration files:
sudo make basic-pbxThe last step is to install the Asterisk init script by typing:
sudo make configYou can also run ldconfig to update the shared libraries cache:
sudo ldconfigCreating Asterisk User
By default Asterisk runs as a root user. For security reasons we will create a new system user and configure Asterisk to run as the newly created user.
Create a new system user named asterisk by issuing the following command:
sudo adduser --system --group --home /var/lib/asterisk --no-create-home --gecos "Asterisk PBX" asteriskTo configure Asterisk to run as asterisk user, open the /etc/default/asterisk file
sudo nano /etc/default/asteriskAnd uncomment the following two lines:
AST_USER="asterisk"
AST_GROUP="asterisk"
Add the asterisk user to the dialout and audio groups:
sudo usermod -a -G dialout,audio asteriskChange the ownership and permissions of all asterisk files and directories so the user asterisk can access those files:
sudo chown -R asterisk: /var/{lib,log,run,spool}/asterisk /usr/lib/asterisk /etc/asterisksudo chmod -R 750 /var/{lib,log,run,spool}/asterisk /usr/lib/asterisk /etc/asterisk
Starting Asterisk
Now that we are all set up, start the Asterisk service by typing:
sudo systemctl start asteriskTo verify that Asterisk is running, connect to the Asterisk command line interface (CLI) by typing:
sudo asterisk -vvvrYou’ll see the default Asterisk CLI prompt:
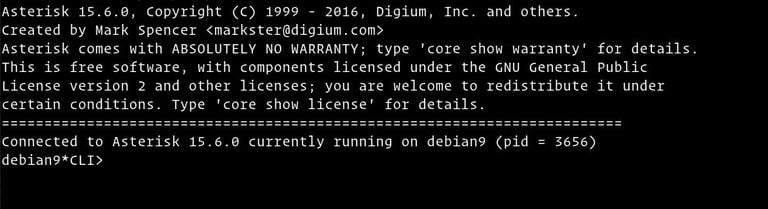
Type exit or press CTRL+C to exit the Asterisk CLI.
The last step is to enable Asterisk service to start on boot:
sudo systemctl enable asteriskConfiguring Firewall
By default, SIP uses the UDP port 5060, to open the port run:
iptables -A INPUT -p udp -m udp --dport 5060 -j ACCEPT If you enabled the Real Time Protocol (RTP) then you also need to open the following port range:
iptables -A INPUT -p udp -m udp --dport 10000:20000 -j ACCEPT Feel free to adjust the firewall according to your need.
Conclusion
In this guide we have shown you how to install the latest Asterisk version from source on your Debian system.
You should now check the Asterisk Documentation and learn more about how to configure and use Asterisk.
If you hit a problem or have feedback, leave a comment below.