How to Install Apache on Debian 9
Updated on
•6 min read

Apache HTTP server is one of the most popular web servers in the world. It is an open-source and cross-platform HTTP server that powers a large percentage of the Internet’s websites. Apache provides many powerful features that can be extended through additional modules.
In this tutorial, we will go through the steps of installing Apache on a Debian 9 server.
Prerequisites
Before starting with the tutorial, make sure you are logged in as a user with sudo privileges .
Installing Apache
Apache is available in the default Debian repositories and the installation is pretty straightforward.
First update the package index and afterwards install the apache2 package with the following commands:
sudo apt updatesudo apt install apache2
That’s it, Apache is installed and automatically started, you can check the status of the Apache service with:
sudo systemctl status apache2● apache2.service - The Apache HTTP Server
Loaded: loaded (/lib/systemd/system/apache2.service; enabled; vendor preset: enabled)
Active: active (running) since Thu 2018-08-23 20:04:47 UTC; 13s ago
Main PID: 11604 (apache2)
CGroup: /system.slice/apache2.service
├─11604 /usr/sbin/apache2 -k start
├─11608 /usr/sbin/apache2 -k start
└─11609 /usr/sbin/apache2 -k start
Adjust the Firewall
If you use iptables to filter connections to your system, you’ll need to open HTTP (80) and HTTPS (443) ports.
Open the necessary ports by issuing the following command:
sudo iptables -A INPUT -p tcp --dport 80 -j ACCEPTsudo iptables -A INPUT -p tcp --dport 443 -j ACCEPT
Verifying Apache Installation
To verify that everything works correctly, open your browser, type your server IP address or domain name http://YOUR_IP_OR_DOMAIN/ and you will see the default Apache welcome page as shown below:
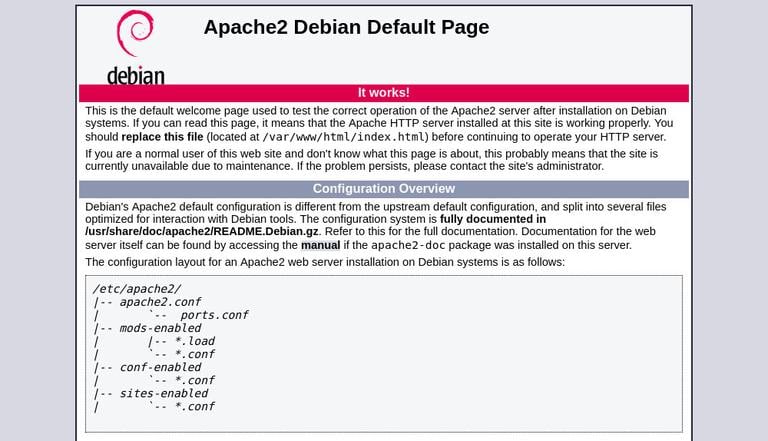
The page includes some basic information about Apache configuration files, helper scripts and directory locations.
Manage the Apache service with systemctl
Now that Apache installed on your Debian system, you can take a minute to look over and become familiar with the basic apache service management commands:
To stop the Apache service, run:
sudo systemctl stop apache2Start it again, by typing:
sudo systemctl start apache2To restart the Apache service:
sudo systemctl restart apache2Reload the Apache with a new configuration with:
sudo systemctl reload apache2If you want to disable the Apache service to start at boot:
sudo systemctl disable apache2And to re-enable it again:
sudo systemctl enable apache2Apache Configuration File’s Structure and Best Practices
- In Debian based systems Apache configuration files are located in the
/etc/apache2directory. - The main Apache configuration file is
/etc/apache2/apache2.conf. - The ports that Apache will listen to are specified in the
/etc/apache2/ports.conffile. - Apache Virtual Hosts files are located in the
/etc/apache2/sites-availabledirectory. The configuration files found in this directory are not used by Apache unless they are linked to the/etc/apache2/sites-enableddirectory. - You can activate a virtual host directive by creating a symlink
using the
a2ensitecommand from the configuration files found in thesites-availabledirectory to thesites-enableddirectory. To deactivate a virtual host use thea2dissitecommand. - It is highly recommended to follow the standard naming convention, for example if your domain name is
mydomain.comthen the domain configuration file should be named/etc/apache2/sites-available/mydomain.com.conf - Configuration files that are used for loading various Apache modules are located in the
/etc/apache2/mods-availabledirectory. Configurations in themods-availabledirectory can be enabled by creating a symlink to the/etc/apache2/mods-enabledirectory using thea2enconfcommand and disabled with thea2disconfcommand. - Files containing global configuration fragments are stored in the
/etc/apache2/conf-availabledirectory. Files in theconf-availabledirectory can be enabled by creating a symlink to the/etc/apache2/conf-enabledusing thea2enconfcommand and disabled with thea2disconfcommand. - Apache log files (
access.loganderror.log) are located in the/var/log/apachedirectory. It is recommended to use differentaccessanderrorlog files for each virtual host. - You can set your domain document root directory to any location you want. The most common locations for webroot include:
/home/<user_name>/<site_name>/var/www/<site_name>/var/www/html/<site_name>/opt/<site_name>
Conclusion
You have successfully installed Apache on your Debian 9 server. You can now start deploying your applications and use Apache as a web or proxy server.
If you have any questions or feedback, feel free to leave a comment.
This post is a part of the How to Install LAMP Stack on Debian 9 series.
Other posts in this series: