How to deploy Mattermost on Ubuntu 18.04
Updated on
•6 min read
Mattermost is an enterprise grade, instant messaging platform, an open-source self-hosted Slack alternative. It’s written in Golang and React and can use MySQL or PostgreSQL as a database backend. Mattermost brings all your team communication into one place and provides various features including file sharing, one-on-one and group messaging, custom emojis, video calls and more.
In this tutorial, we will install Mattermost on an Ubuntu 18.04 server and configure Nginx as an SSL reverse proxy .
Prerequisites
Make sure that you have met the following prerequisites before continuing with this tutorial:
- You are logged in as a user with sudo privileges .
- You have a domain name pointing to your server IP address. In this article we will use
example.com. - You have Nginx installed, if not check this guide.
- You have an SSL certificate installed for your domain. You can install a free Let’s Encrypt SSL certificate by following this guide.
Create MySQL Database
We will use MySQL as a database for Mattermost. If you don’t have MySQL or MariaDB installed on your server you can install it by following these instructions .
Login to the MySQL shell:
mysql -u rootCreate a new database and user for our Mattermost installation with:
CREATE DATABASE mattermost;GRANT ALL ON mattermost.* TO mattermost@localhost IDENTIFIED BY 'P4ssvv0rD';
P4ssvv0rD.Create new system user
Create a new user and group that will run our Mattermost instance. We will name the user mattermost:
sudo useradd -U -M -d /opt/mattermost mattermostInstall Mattermost Server
At the time of writing this article, the latest stable version of Mattermost is version 5.1.0. Download the archive with the following curl command :
sudo curl -L https://releases.mattermost.com/5.1.0/mattermost-5.1.0-linux-amd64.tar.gz -o /tmp/mattermost.tar.gzOnce the download is complete extract the archive and move it to the /opt directory
sudo tar zxf /tmp/mattermost.tar.gz -C /optCreate the storage directory for files:
sudo mkdir -p /opt/mattermost/dataChange the directory ownership
to the mattermost user:
sudo chown -R mattermost: /opt/mattermostOpen the /opt/mattermost/config/config.json file, set the database driver to mysql and enter the database information:
"SqlSettings": {
    "DriverName": "mysql",
    "DataSource": "mattermost:P4ssvv0rD@tcp(localhost:3306)/mattermost?charset=utf8mb4,utf8&readTimeout=30s&writeTimeout=30s",
To make sure that our Mattermost instance works as expected we will test the Mattermost server. Change into the /opt/mattermost directory and start the server with the following commands:
cd /opt/mattermostsudo -u mattermost bin/mattermost
If everything works well, the server will start and the output will look something like this :
{"level":"info","ts":1532546921.941638,"caller":"app/server.go:115","msg":"Starting Server..."}
{"level":"info","ts":1532546921.9421031,"caller":"app/server.go:154","msg":"Server is listening on [::]:8065"}
{"level":"info","ts":1532546921.9541554,"caller":"app/web_hub.go:75","msg":"Starting 2 websocket hubs"}
We can now stop the Mattermost server with CTRL+C and continue with the next steps.
Create a Systemd unit
In order to run our Mattermost instance as a service we will create a mattermost.service unit file in the /etc/systemd/system/ directory.
Open your text editor and create the following file:
[Unit]
Description=Mattermost
After=network.target
After=mysql.service
Requires=mysql.service

[Service]
Type=notify
ExecStart=/opt/mattermost/bin/mattermost
TimeoutStartSec=3600
Restart=always
RestartSec=10
WorkingDirectory=/opt/mattermost
User=mattermost
Group=mattermost
LimitNOFILE=49152

[Install]
WantedBy=mysql.service
Notify systemd that we have created a new unit file and start the Mattermost service with the following commands:
sudo systemctl daemon-reloadsudo systemctl start mattermost
We can now check the service status with:
sudo systemctl status mattermost● mattermost.service - Mattermost
Loaded: loaded (/etc/systemd/system/mattermost.service; disabled; ven
Active: active (running) since Wed 2018-07-25 18:39:05 UTC; 41s ago
Main PID: 3091 (mattermost)
Tasks: 18 (limit: 507)
CGroup: /system.slice/mattermost.service
├─3091 /opt/mattermost/bin/mattermost
If there are no errors, enable the Mattermost service to automatically start at boot time:
sudo systemctl enable mattermostSet up a reverse proxy with Nginx
If you followed our how to install Nginx on Ubuntu 18.04 and how to secure Nginx with Let’s Encrypt on Ubuntu 18.04 guides you should already have Nginx installed and configured with SSL certificate.
Now we need to set up a new server block for the Mattermost instance. Open your text editor and create the following file:
proxy_cache_path /var/cache/nginx levels=1:2 keys_zone=mattermost_cache:10m max_size=3g inactive=120m use_temp_path=off;

upstream mattermost_backend {
  server 127.0.0.1:8065;
}

server {
    listen 80;
    server_name example.com www.example.com;

    include snippets/letsencrypt.conf;
    return 301 https://example.com$request_uri;
}

server {
    listen 443 ssl http2;
    server_name www.example.com;

    ssl_certificate /etc/letsencrypt/live/example.com/fullchain.pem;
    ssl_certificate_key /etc/letsencrypt/live/example.com/privkey.pem;
    ssl_trusted_certificate /etc/letsencrypt/live/example.com/chain.pem;
    include snippets/ssl.conf;

    return 301 https://example.com$request_uri;
}

server {
    listen 443 ssl http2;
    server_name example.com;

    ssl_certificate /etc/letsencrypt/live/example.com/fullchain.pem;
    ssl_certificate_key /etc/letsencrypt/live/example.com/privkey.pem;
    ssl_trusted_certificate /etc/letsencrypt/live/example.com/chain.pem;
    include snippets/ssl.conf;

    access_log /var/log/nginx/example.com-access.log;
    error_log /var/log/nginx/example.com-error.log;

    location ~ /api/v[0-9]+/(users/)?websocket$ {
       proxy_set_header Upgrade $http_upgrade;
       proxy_set_header Connection "upgrade";
       client_max_body_size 50M;
       proxy_set_header Host $http_host;
       proxy_set_header X-Real-IP $remote_addr;
       proxy_set_header X-Forwarded-For $proxy_add_x_forwarded_for;
       proxy_set_header X-Forwarded-Proto $scheme;
       proxy_set_header X-Frame-Options SAMEORIGIN;
       proxy_buffers 256 16k;
       proxy_buffer_size 16k;
       proxy_read_timeout 600s;
       proxy_pass http://mattermost_backend;
    }

    location / {
       proxy_http_version 1.1;
       client_max_body_size 50M;
       proxy_set_header Connection "";
       proxy_set_header Host $http_host;
       proxy_set_header X-Real-IP $remote_addr;
       proxy_set_header X-Forwarded-For $proxy_add_x_forwarded_for;
       proxy_set_header X-Forwarded-Proto $scheme;
       proxy_set_header X-Frame-Options SAMEORIGIN;
       proxy_buffers 256 16k;
       proxy_buffer_size 16k;
       proxy_read_timeout 600s;
       proxy_cache mattermost_cache;
       proxy_cache_revalidate on;
       proxy_cache_min_uses 2;
       proxy_cache_use_stale timeout;
       proxy_cache_lock on;
       proxy_pass http://mattermost_backend;
    }
}
Reload the Nginx service for changes to take effect:
sudo systemctl reload nginxConfiguring Mattermost
Open your browser, type your domain and you’ll be redirected to the sugnup page.
Enter your email, choose a username and password and click on the Create Account button to create your first account.
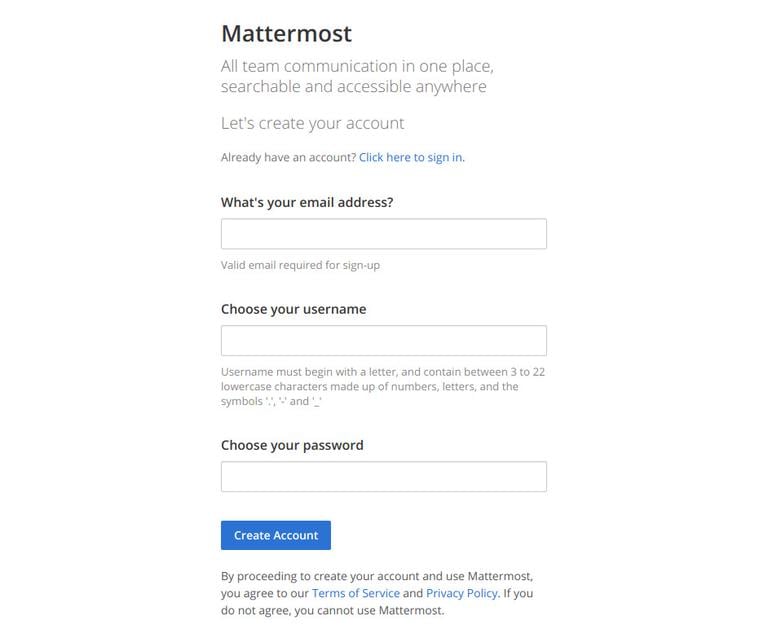
The first created user in the system will have administrator privileges.
In the next step the configuration wizard will ask you to create a new team.
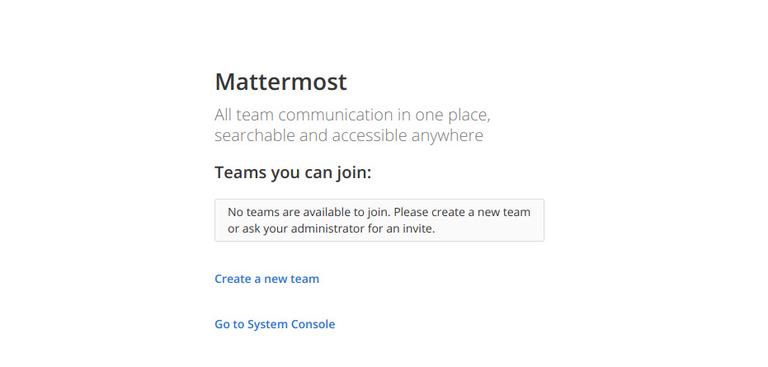
Click on Create a new team link, enter your first team and click on the Next button.
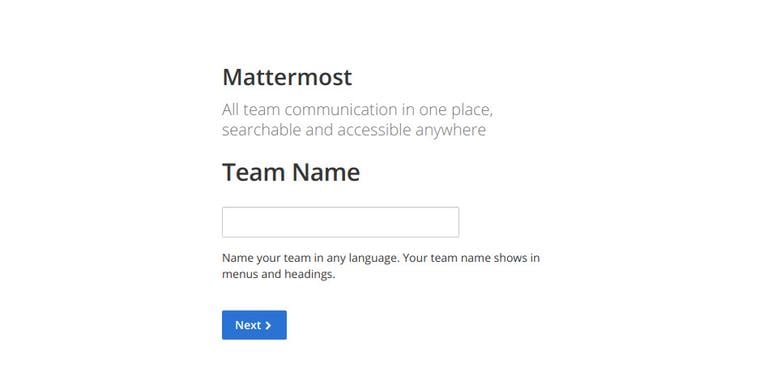
In the next step you’ll be asked to choose the web address of your new team:
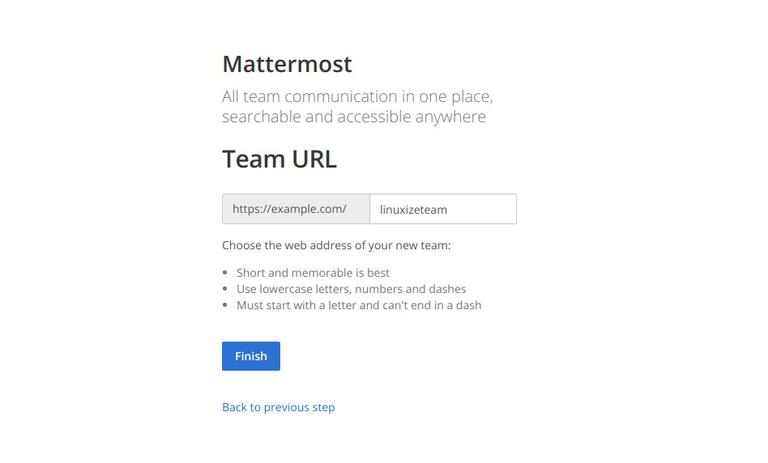
Click on the Finish button and you will be redirected to the Mattermost dashboard , logged in as an administrator.
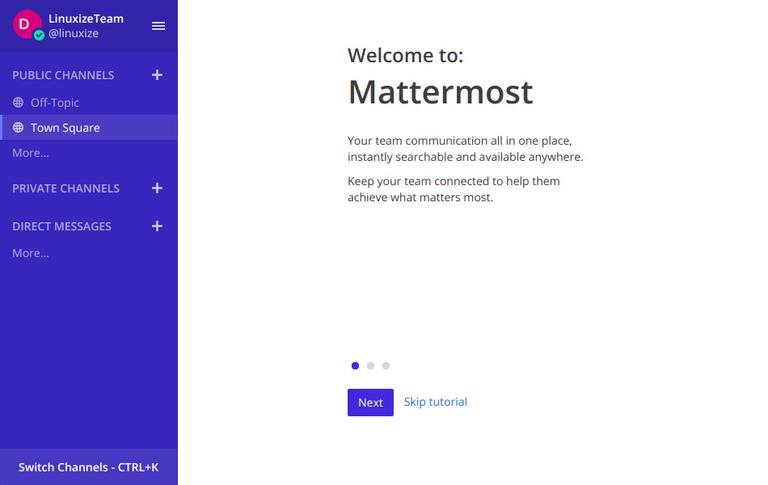
Open the System Console, by clicking on your username at the top of the navigation panel, and in the new menu that opens, click on the System Console link.
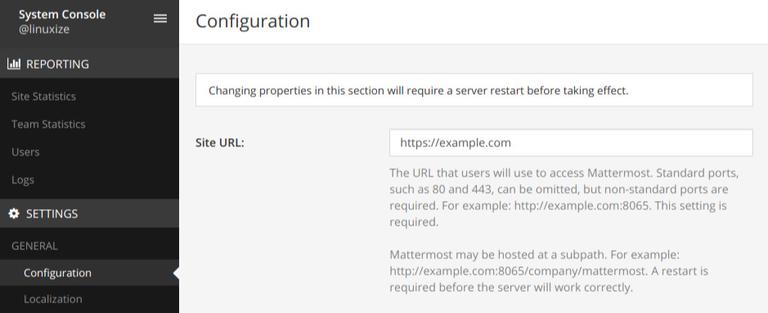
Set the site URL by going to Settings General → Configuration.
To enable email notifications go to Notifications → Email, change the Enable Email Notifications value from false to true and enter your SMTP parameters.
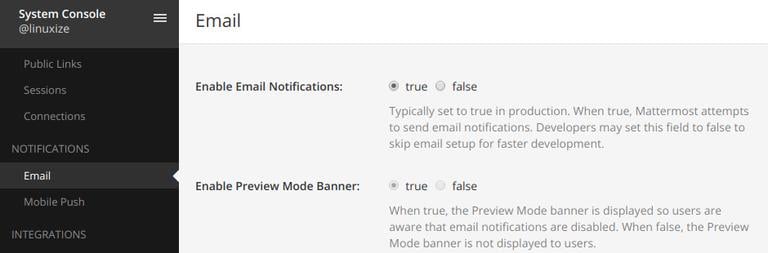
You can use any popular transactional email services such as SendinBlue, SendGrid, Amazon SES, Mandrill, Mailgun, Mailjet, and Postmark or you can set up your own mail server by following this tutorial.
Finally we need to restart the Mattermost service for changes to take effect:
sudo systemctl restart mattermostConclusion
You have successfully installed Mattermost on your Ubuntu 18.04 server and setup Nginx as a reverse proxy. You can now start using Mattermost to collaborate with your team.
If you are facing any problem with the installation, feel free to leave a comment.