How to Create Bootable Linux USB Drive
Updated on
•6 min read
Usually, when installing a fresh copy of some Linux distribution on your laptop or PC, you’ll need a bootable USB containing the distribution you want to install.
This tutorial will take you through the steps necessary to create a bootable Linux USB stick on Windows, macOS, and Linux machines. You can use this USB stick to boot and test out or install the Linux distribution on any computer that supports booting from USB.
Downloading the Distribution ISO file
To create a bootable USB drive, first, you need to download the distribution ISO file. This file contains everything you need to install the Linux distro on your system.
We’ll use the latest Ubuntu version, but the steps explained in this article should work for any other Linux distribution.
Visit the distribution download page (Ubuntu , CentOS , etc.) and download the latest ISO file.
Creating Bootable Linux USB Drive with Etcher
There are several different applications available for free use, which will allow you to flash ISO images to USB drives. In this example, we will use Etcher. It is a free and open-source utility for flashing images to SD cards & USB drives and supports Windows, macOS, and Linux.
Head over to the Etcher downloads page , and download the most recent Etcher version for your operating system. Once the file is downloaded, double-click on it and follow the installation wizard.
Creating Bootable Linux USB Drive using Etcher is a relatively straightforward process:
Connect the USB flash drive to your system and Launch Etcher.
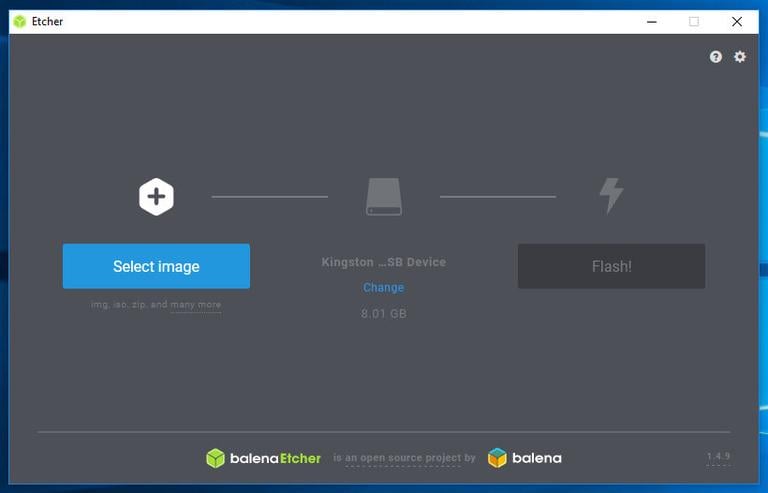
Click on the
Select imagebutton and locate the distribution.isofile.
If only one USB drive is attached to your machine, Etcher will automatically select it. Otherwise, if more than one SD card or USB drive is connected, make sure you have selected the correct USB drive before flashing the image.
Click on the
Flash imagebutton, and the process of flashing the USB drive will start.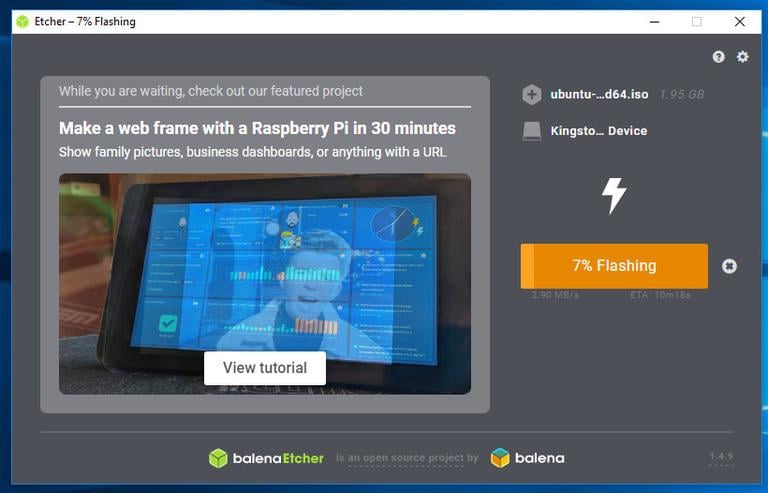
Etcher will show a progress bar and ETA during the flashing.
The whole process may take several minutes, depending on the size of the ISO file and the USB stick’s speed. Once completed, the following screen will appear, telling you that the image is successfully flashed.
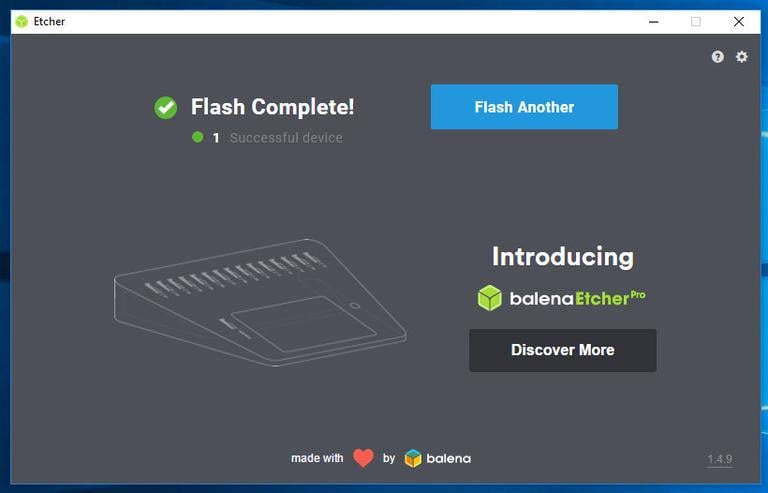
Click on the
[X]to close the Etcher window.
That’s all! You have a bootable Linux on your USB stick.
Creating Bootable Linux USB Drive from the Command Line
This section will show you how to create a bootable Linux USB stick from the command line using the dd tool, which is available on all macOS and Linux systems.
This is a quick and easy process and requires no additional software to be installed.
Insert the USB flash drive into the USB port.
Next, you need to find out the name of the USB drive. The best tool for this job is
lsblk:lsblkThe output will look something like this:
NAME        MAJ:MIN RM   SIZE RO TYPE MOUNTPOINT
sda           8:0    0 465.8G  0 disk
└─sda1        8:1    0 465.8G  0 part /data
sdx           8:16   1   7.5G  0 disk
└─sdx1        8:17   1   7.5G  0 part /run/media/linuxize/Kingston
nvme0n1     259:0    0 232.9G  0 disk
├─nvme0n1p1 259:1    0   512M  0 part /boot
├─nvme0n1p2 259:2    0    16G  0 part [SWAP]
└─nvme0n1p3 259:3    0 216.4G  0 part /
In this example, the USB device’s name is
/dev/sdx, but this may vary on your systemOn most Linux distributions, the USB flash drive will be automatically mounted when inserted. Before flashing the image, you need to unmount the USB device. To do so, use the
umountcommand followed by either the mount point or the device name:sudo umount /dev/sdx1The last step is to flash the ISO image to the USB drive. Make sure you replace
/dev/sdxwith your drive and do not append the partition number. Also, make sure you are using the correct path to the ISO file.sudo dd bs=4M if=/path/to/ubuntu-18.04.2-desktop-amd64.iso of=/dev/sdx status=progress oflag=syncThe command will show a progress bar while flashing the image, and the process may take several minutes:
458+1 records in
458+1 records out
1921843200 bytes (1.9 GB, 1.8 GiB) copied, 147.006 s, 13 MB/s
Conclusion
Creating a bootable Linux USB drive is a relatively straightforward task. Within minutes you can flush your USB drive with your favorite Linux distribution and use it to install the operating system on your PC or laptop.
If you hit a problem or have feedback, leave a comment below.